3.1 | Azure AI Resource
These instructions are for self-guided learners only.
In this section, we will manually provision all the necessary Azure resources for this lab. We may later document a scripted way to auto-provision them for efficiency. However, for now, we think manual setup will give you better insights into purpose & configuration of each resource, and contribute to your learning journey.
The Azure AI resource provides the hosting environment for your Azure AI application.
Let's provision this resource manually.
- 01 | Navigate to https://ai.azure.com in a new tab.
- 02 | Click login. It should auto-login using prior Azure authentication.
- 03 | Click Manage in navbar.
- 04 | Click "+ New Azure AI resource" in page.
- 05 | Complete the pop-up dialog with these details:
- Resource name: contoso-chat-ai
- Azure subscription: (leave default)
- Click "Create new resource group"
- Resource group: contoso-chat-rg
- Location: Sweden Central
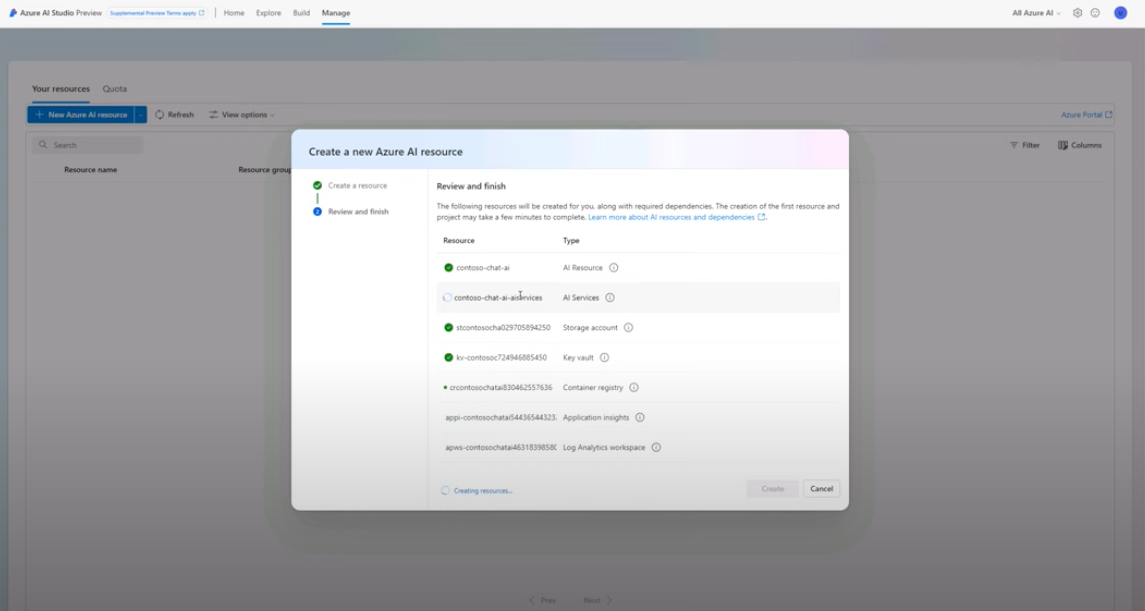
- 06 | Click "Next: in pop-up dialog
- Click Create to confirm resource creation.
- This takes a few minutes (see below). Wait for completion.
- 07 | Return to "Manage" page & Refresh.
- Verify this Azure AI resource is listed.
Congratulations! Your Azure AI Resource was created successfully.
Click here for a video walkthrough of this step in a Skillable session, for reference.