2.2 | Launch Codespaces
These instructions are for self-guided learners only.
Instructor-led sessions will use the built-in Skillable manual. However, the outcomes for each step will be the same, so we will reproduce screenshots (and link to video walkthroughs) from a Skillable session for a convenient reference.
We'll use GitHub Codespaces as our development environment.
The contoso-chat application sample comes with a devcontainer.json configuration file that provides a pre-built development environment with minimal manual effort required in setup. Let's get that running.
- 01 | Log into GitHub with your personal account.
- 02 | Navigate to this repo: Azure-Samples/contoso-chat
- 03 | Fork the repo into your GitHub profile
- 04 | Click "Code" dropdown, select "Codespaces" tab
- 05 | Click "+" to create new codespace
- 06 | Verify you see 'Setting up your codespace' in new tab
- 07 | Click "View Logs" to track progress
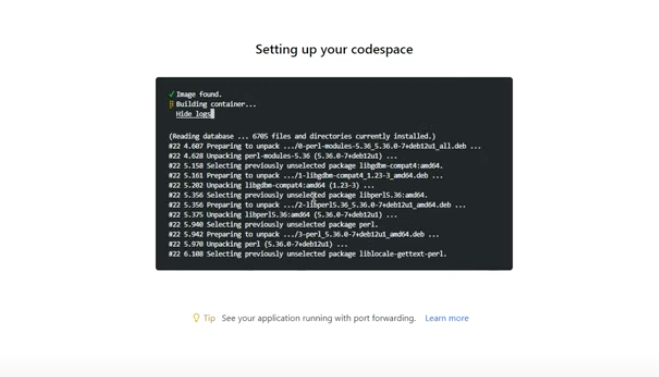
This step takes a few minutes to complete. It is configuring a Docker container (with a defined base image), installing the dependencies we've specified, and launching it with a built-in Visual Studio Code editor that is configured with required extensions.
While we wait for setup to complete, let's move to the next step: 3 | Provision Azure
Congratulations! Your development environment is being setup for you...
Click here for a video walkthrough of this step in a Skillable session, for reference.