(OSS) Prerequisites
Open-source Responsible AI Toolbox
To use the open-source Responsible AI Toolbox, you'll need a notebook to successfully complete this workshop. We'll be using Visual Studio code in this lab.
Clone the project repository
You'll need to clone the project repository to your local machine. If you don't already have Git installed, you can download it from git-scm.com.
- From the command prompt, clone the Diabetes Hospital Readmission project github repository by copying and pasting the command below:
git clone https://github.com/ruyakubu/responsibleai-toolbox-diabetes-hospital-readmission.git
- Change to the project directory.
cd responsibleai-toolbox-diabetes-hospital-readmission
Python and Conda environment
We'll also be using conda to manage our Python environment in this workshop. If you don't have Anaconda or Miniconda installed, you can download it from docs.conda.io. You'll need the directory path to where you installed conda later. For example, for Windows users, if you are using Anaconda, the path is usually located at C:\Users\[username]\Anaconda3\Scripts.
- From the command prompt, confirm your installation by typing the following command below:
conda --version
- If conda is not recognized, locate that the path to where you installed Conda is set in your system environment variables path. Run the following command to add the path to your system path:
setx PATH "%PATH%;C:\Users\\[username]\Anaconda3\Scripts"
Install Visual Studio Code
We'll be using Visual Studio Code to train your model; and create the Responsible AI dashboard with insights that you'll be using in this workshop. If you don't have Visual Studio Code already installed, you can download it from code.visualstudio.com.
- To start, launch the Visual Studio Code application.

- Click on the "Extensions" icon, then type Python Extension Pack in the search box. Then, click on the "Install" button for the "Python Extension Pack". This will automatically install Python and all of its dependencies.

To configure your python settings, search for the Python extension in the search box. Then, click on the Python link.
On the Python extension page, click on the settings gear icon. Then, select the "Extension Settings" option.

- Under the "Python: Conda Path" section, enter the path to where your conda executable is installed. For example, if you are using Anaconda, the Windows path is usually located at C:\Users\[username]\Anaconda3\Scripts.

Create python environment
From the "File" menu, select "Open Folder". Then, select the "responsibleai-toolbox-diabetes-hospital-readmission" folder that you cloned from the github repository.
Then click on the "diabetes-hospital-readmission.ipynb" file to open the notebook.
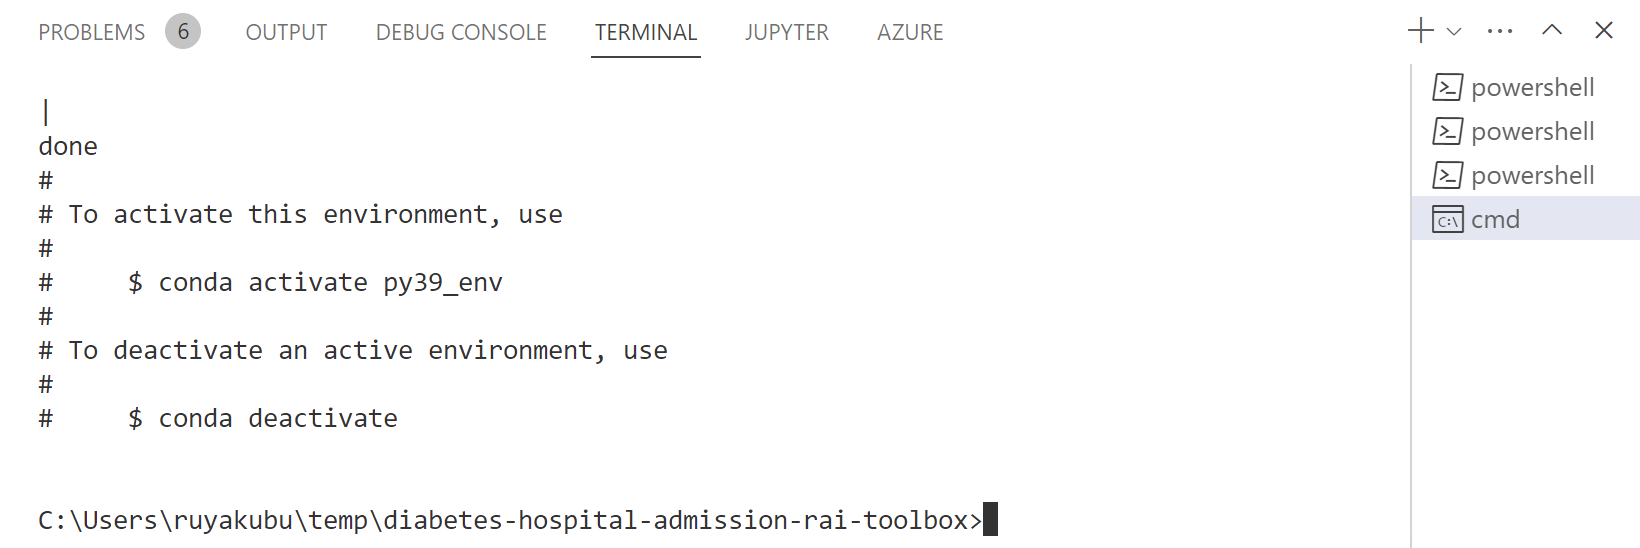
Click on the "Terminal" menu, then select "New Terminal". This will open a new terminal window at the bottom of the screen.

- On the right-hand side of the terminal window, click on the "+" icon to switch the shell to "Command Prompt".

- At the command prompt, type the following command to create a conda environment:
conda env create -n py39_env --file libs/env.yaml
- Confirm that the conda environment was created from the command prompt:
- Select the conda environment by clicking on the "Select Kernel" icon on the top right-hand side of the notebook. This will open a search box where you can select a kernel.
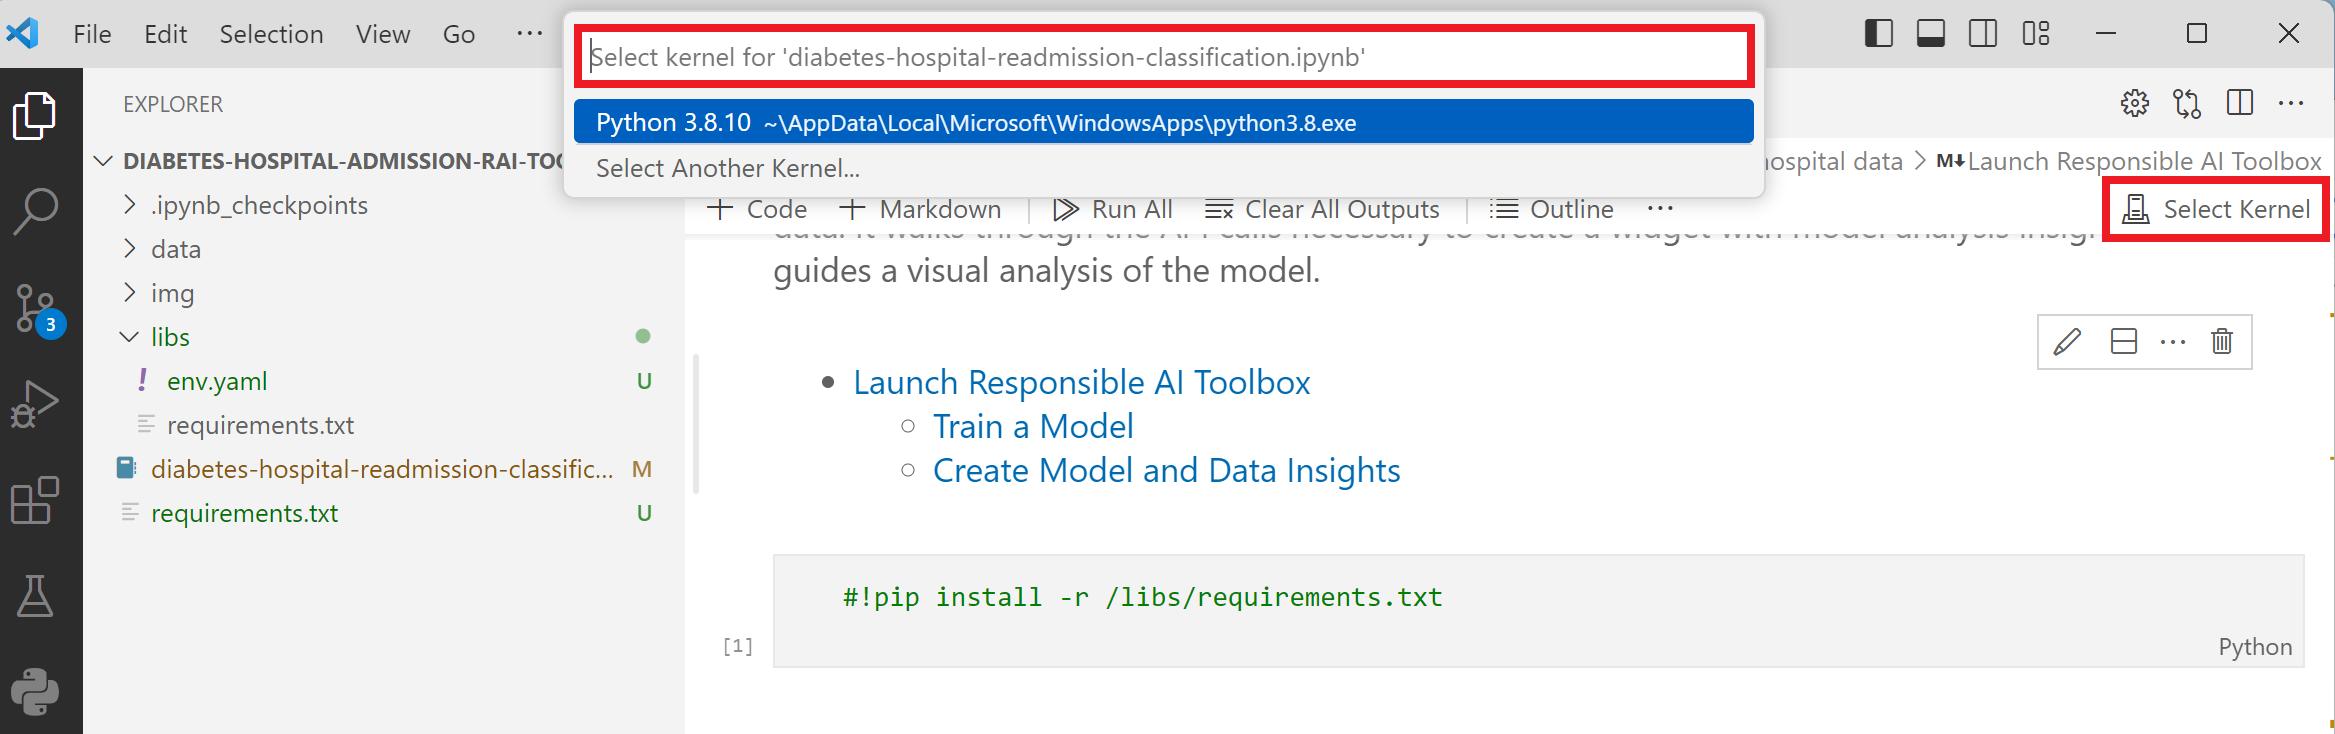
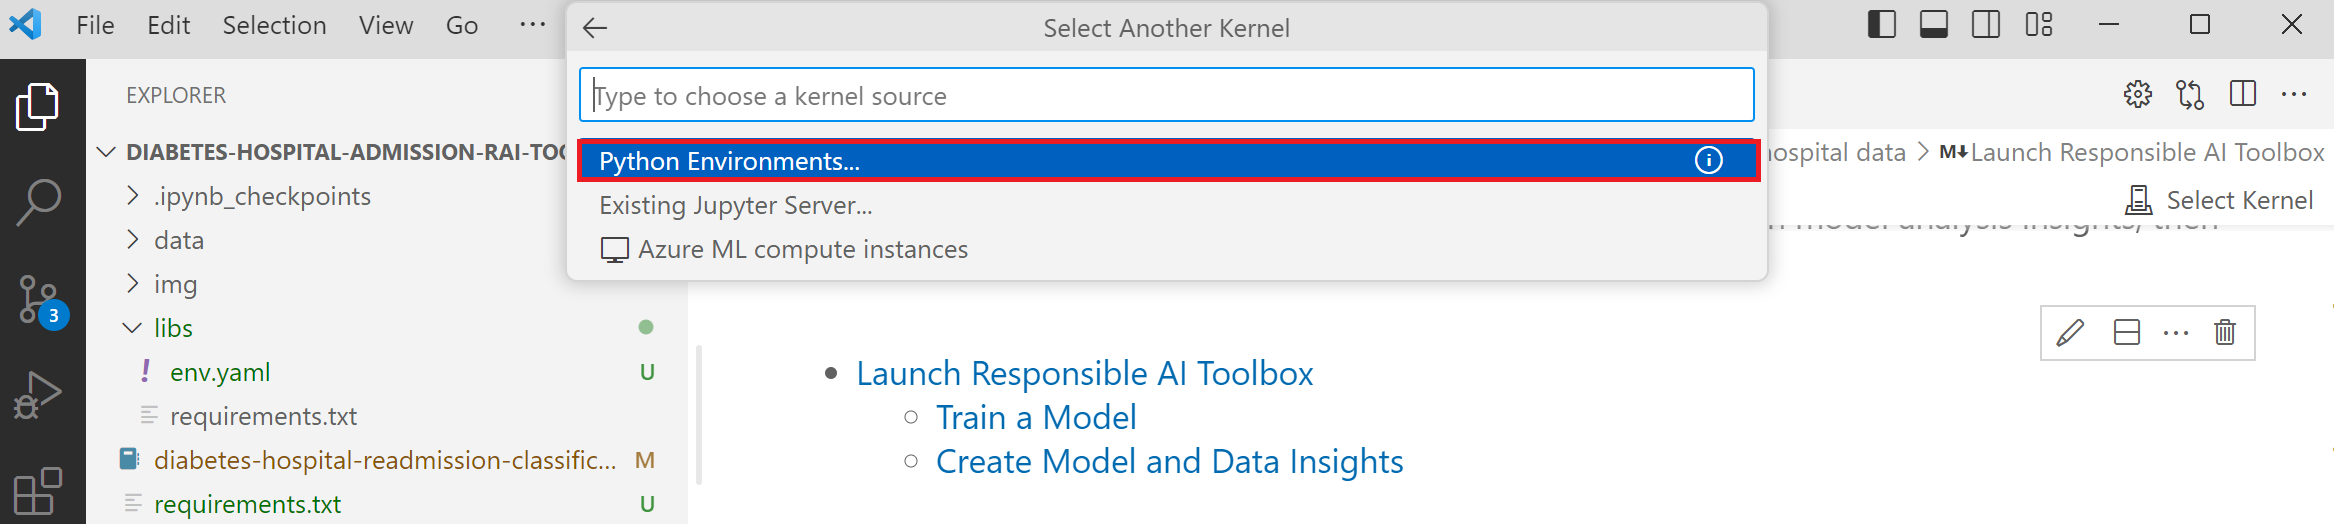
- On the kernel search box, click on the "Select Another Kernel" option. Then, select the "Python Environments..." option.
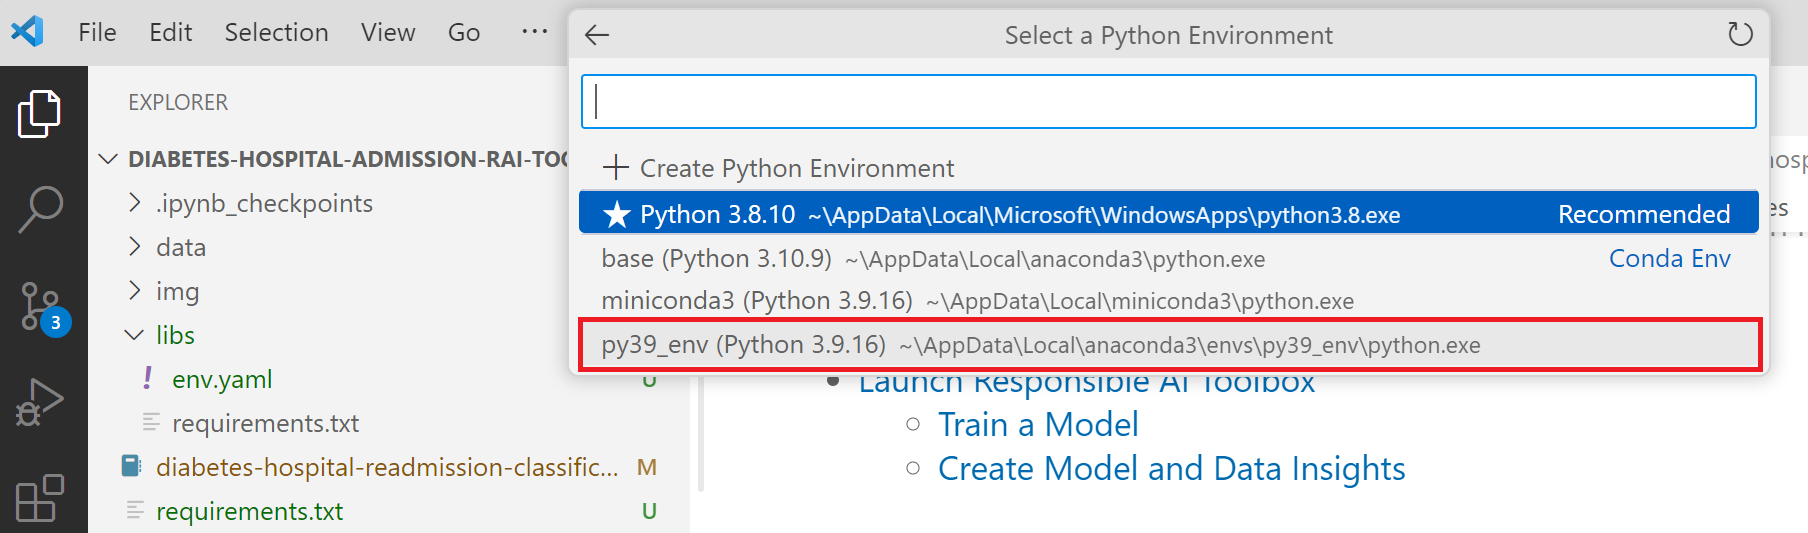
- On the "Select Python Environment" dialog, select the "py39_env" environment that you created earlier.
Run the notebook
Click on the "Run All Cells" button to run the notebook. This will take 5 minutes to complete.
After the notebook has completed running, a link to the generated Responsible AI dashboard will be displayed. Click on the link to launch a browser window with the dashboard.

- Terrific...you're ready to start using the dashboard!
