(Azure) Prerequisites
Azure subscription account
In order to successfully complete this workshop you'll need Azure credits. The instructor will provide you with your account promo code. You'll need to successfully complete the azure pass redemption process for setting up your account before you can start the steps below.
To redeem a promo code, visit microsoftazurepass.com and follow these Azure Pass redemption instructions.
Setup your cloud resources
We'll be using Azure Cloud Shell to create your Azure Machine Learning workspace; as well as running the jobs to train and register your model. And finally, create the Responsible AI dashboard that you'll be using in this workshop.
To start, log into the Azure portal with your account subscription.
Click on the "Subscriptions" icon, to access your subscription ID.

- On the "Subscriptions" page, copy the "subscription Id" and store it to use later.

- Select the "Azure Cloud Shell" icon.

- A command terminal will open at the bottom of the page. Select the "Bash" option.
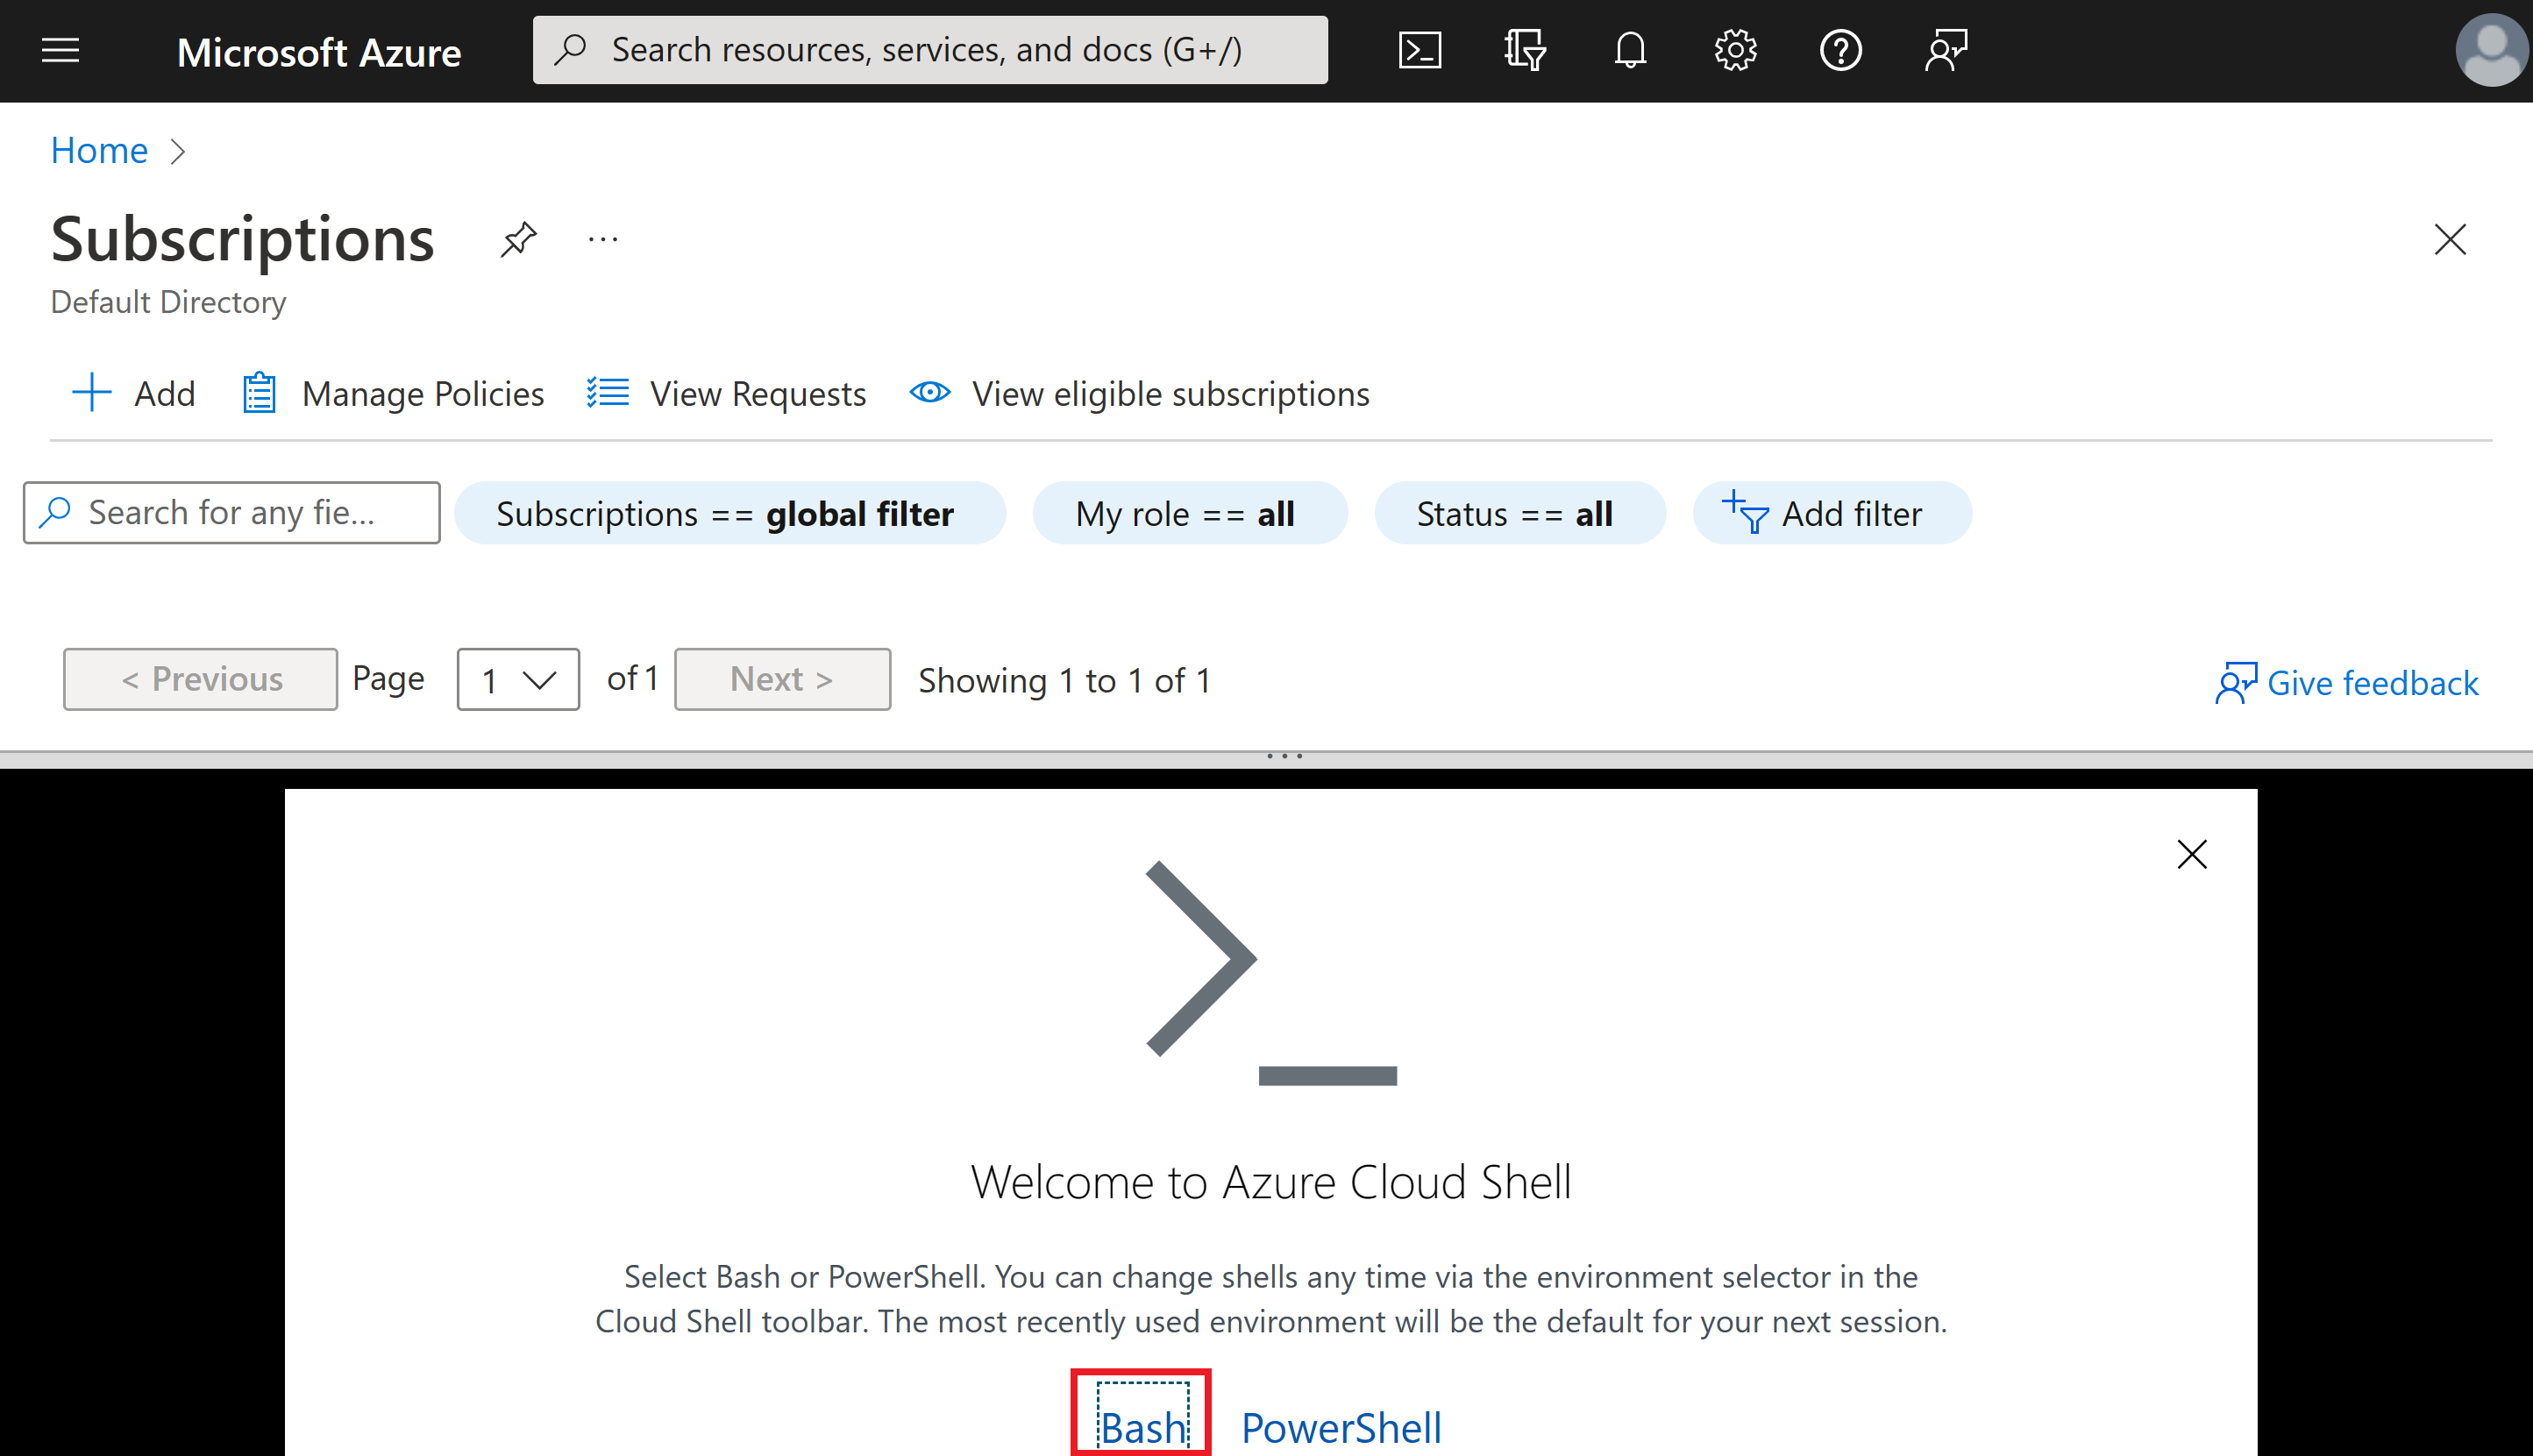
- A Cloud Shell needs to create a storage account and mount a file system for you. Under the "Subscription" drop-down menu, select your subscription. Then, click on the "Create storage" button.

- This should open a Cloud Shell command line terminal.

- In Azure Cloud Shell command prompt, clone the Diabetes Hospital Readmission project github repository by copying and pasting the command below:
git clone https://github.com/ruyakubu/RAI-Diabetes-Hospital-Readmission-classification.git
- Change to the project directory
cd RAI-Diabetes-Hospital-Readmission-classification
Azure Login
- At the terminal command prompt, enter the following Azure CLI command to log into your Azure account.
az login --use-device-code
Then, open the link provided and enter the access code from the Cloud Shell message.

This will open a new browser window. Enter the access code and click on the "Next" button.
Pick the account you used to setup the Azure subscription which shows the name and email your used. Then, click on the "Continue" button to sign into the Microsoft Azure CLI. After you have successfully signed in, closed the browser window tab. Return back to the Azure portal tab.
Once you have successfully logged in, set your account to your subscription. Use the subscription Id that you copied earlier.
az account set -s <enter-your-subscription-id-here>
Create Resource Group and Azure ML workspace
- Find an Azure region that is closest to you. Pick a location name close to you to use for this workshop (e.g. westus, eastus westeurope, southafricanorth,... etc).
az account list-locations --query "[*].name" --out tsv | sort
- Create an Azure resource group.
az group create --name <resource-group-name> --location <location>
- Create an Azure Machine Learning workspace using the resource group name you created.
az ml workspace create -n <workspace-name> -g <resource-group-name>
- Set your environment default to the resource group and Azure ML workspace.
az configure --defaults group="<resource-group-name>" workspace="<workspace-name>"
Run jobs for training the model and creating the RAI dashboard
- Register the training and testing dataset to the Azure Machine Learning workspace.
az ml data create -f cloud/train_data.yml

az ml data create -f cloud/test_data.yml
- Create a compute instance for running the jobs. Then, copy the compute name (e.g., compute-xxxxxxxxxxxx) at the end of the run to use later.
uuid=$(cat /dev/urandom | tr -dc 'a-z0-9' | fold -w 12 | head -n 1)
computename=compute-$uuid

az ml compute create --name $computename --type computeinstance --size STANDARD_DS12_V2

echo 'copy the compute name to use later:'
echo $computename
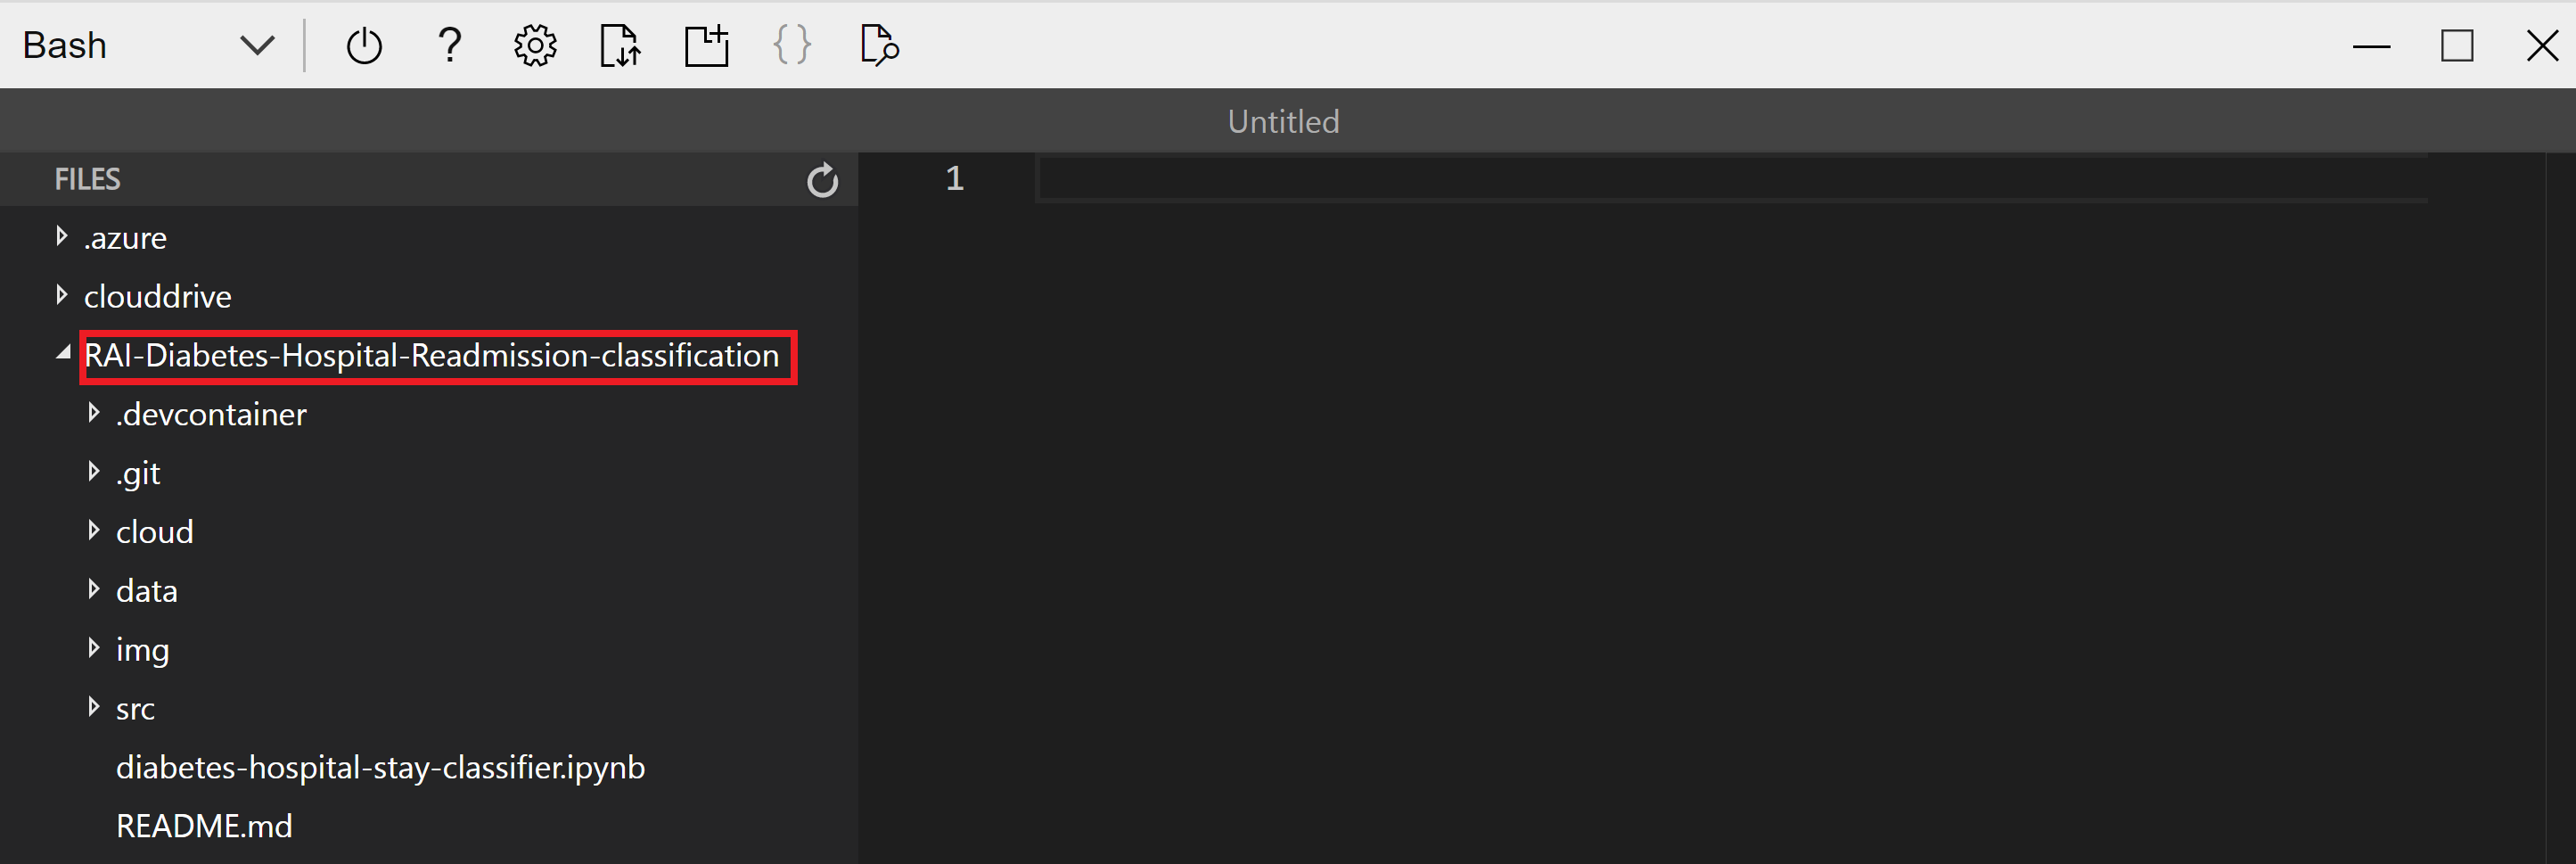
- On the Cloud Shell menu, click on the "Open editor" pane to edit some of the files.

- Click on the RAI-Diabetes-Hospital-Readmission-classification folder to expand the directory.
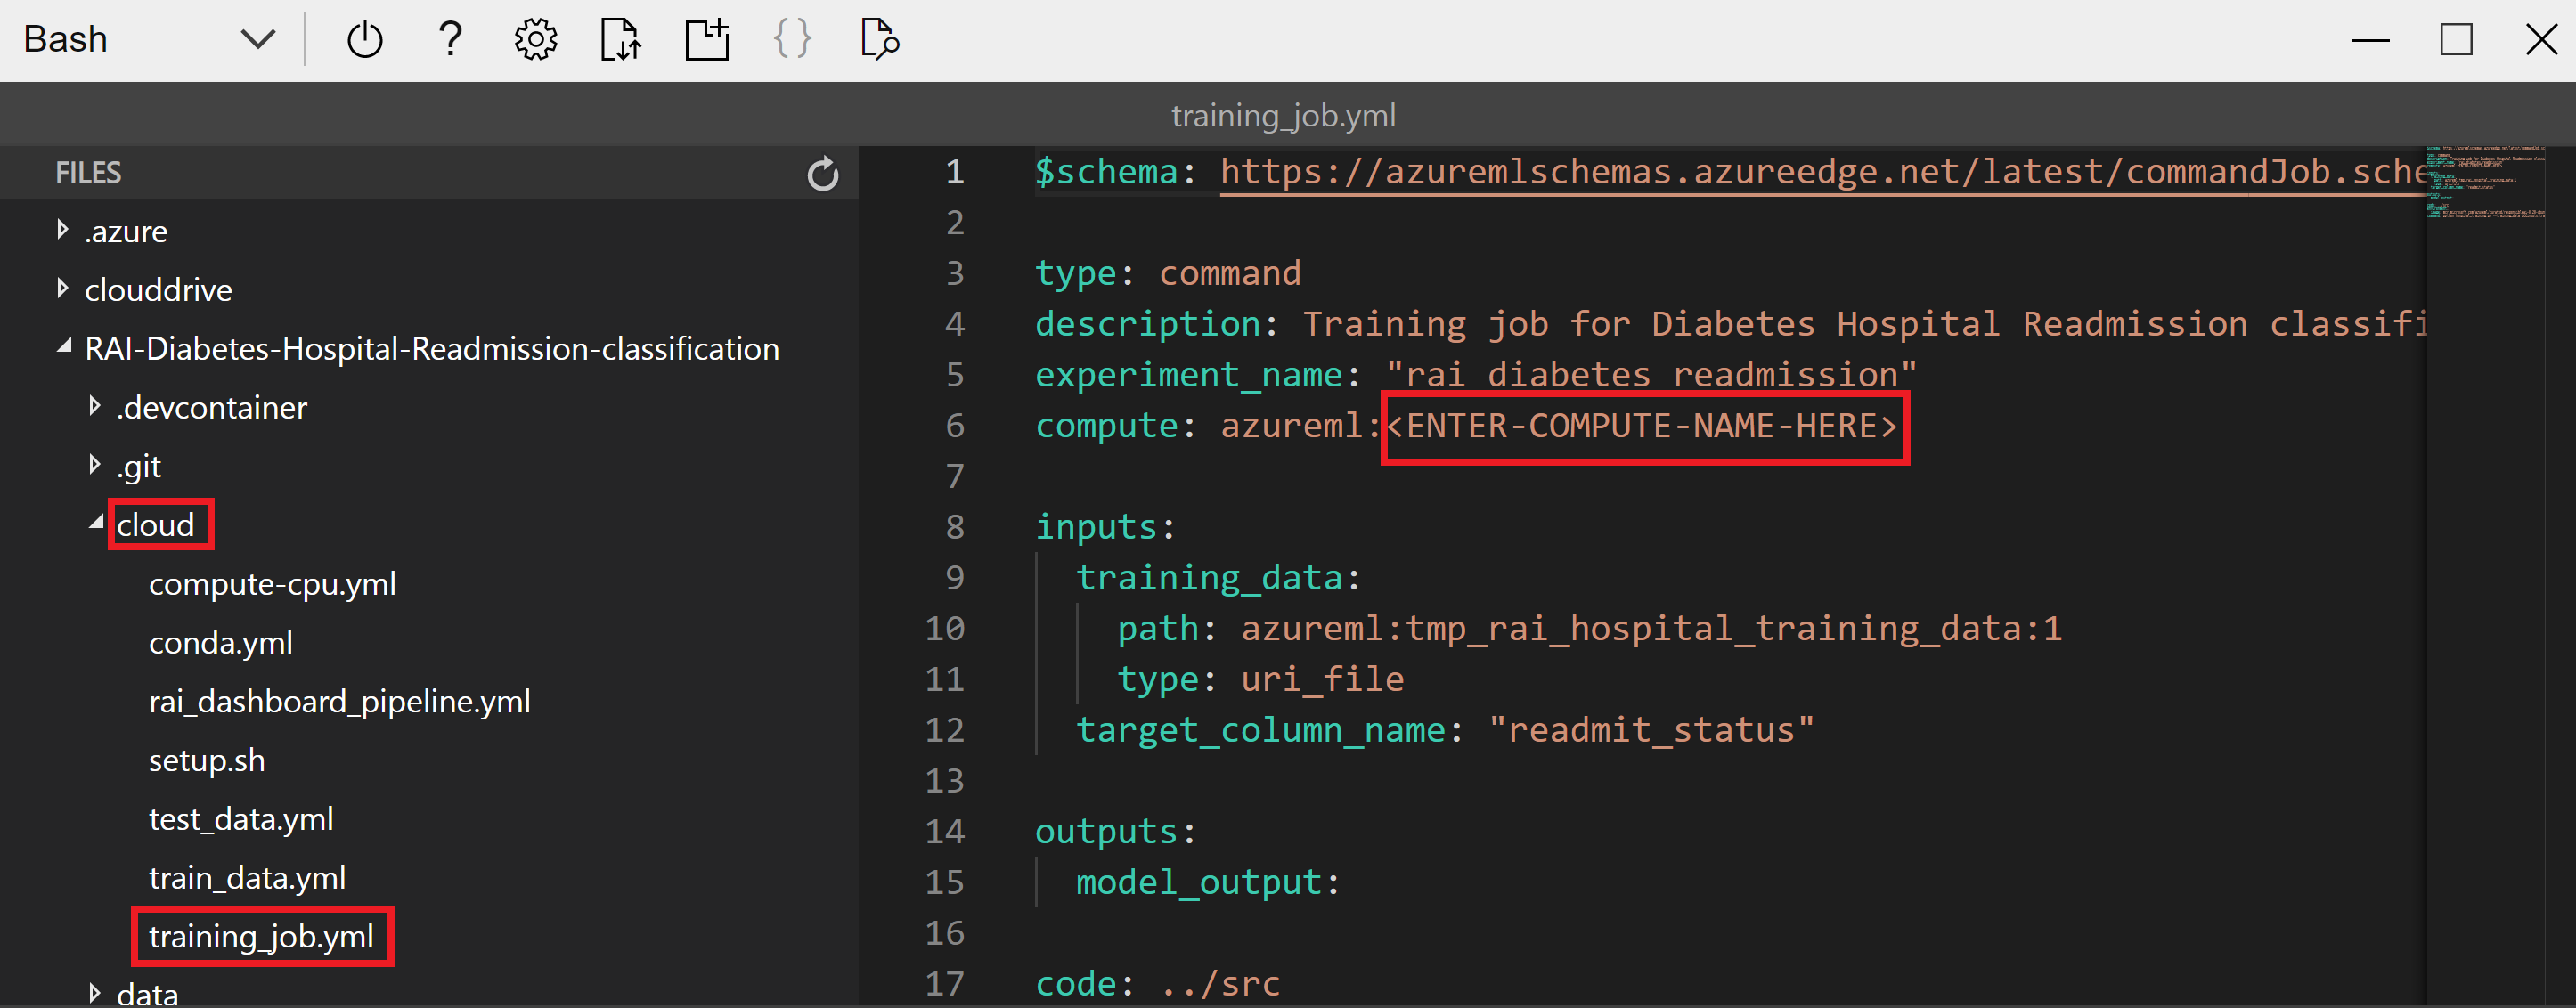
- Navigate to the "cloud/training_job.yml" file. Then replace the placeholder for the compute name with your compute instance name that you copied earlier. E.g., "compute: azureml:compute-xxxxxxxxxxxx".
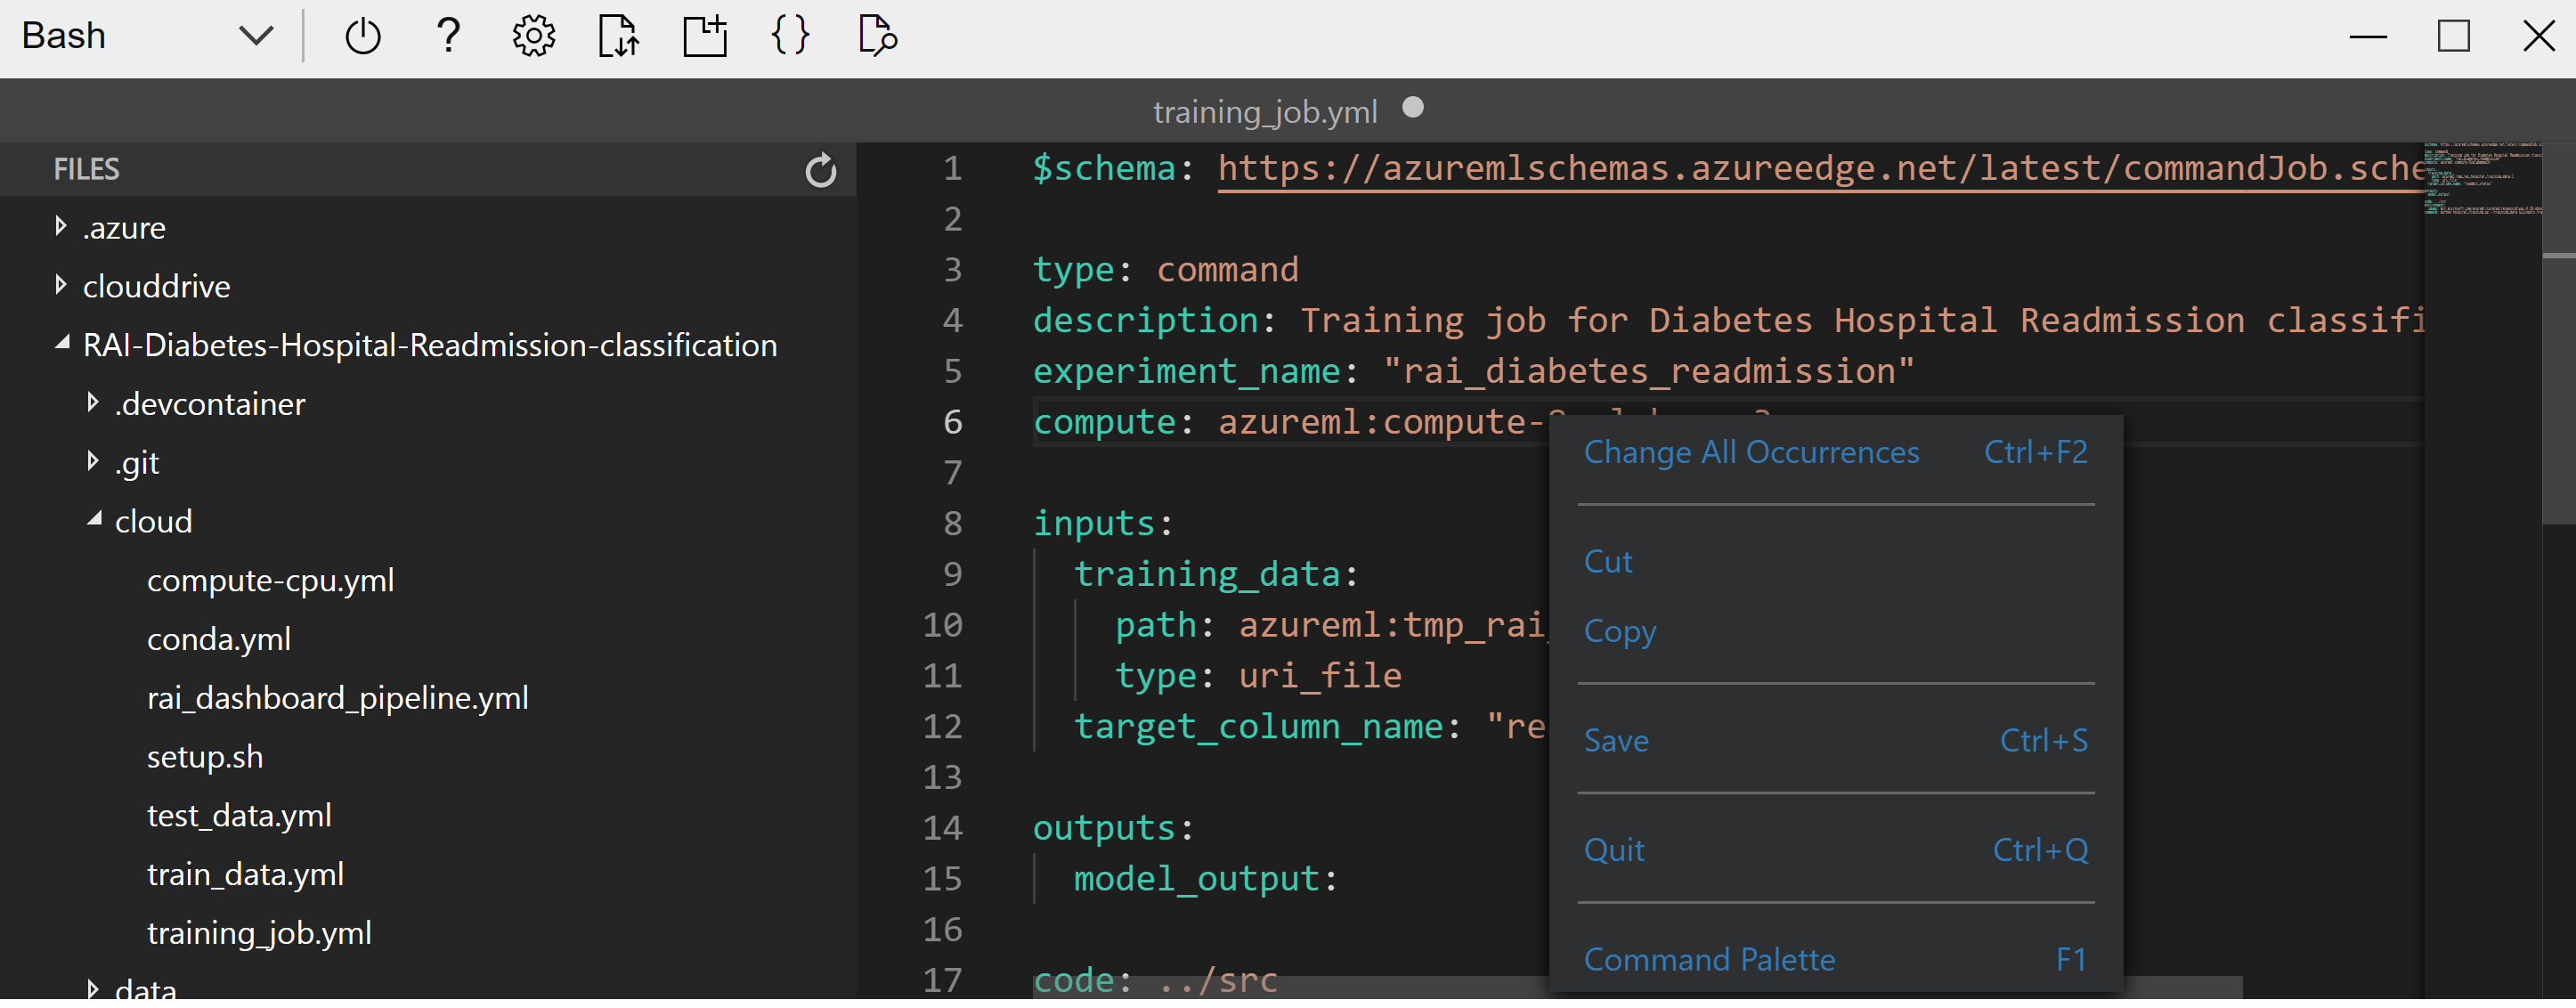
- Right-click anywhere in the file, then select the "Save" option to save the file. You can use Save short-cut keys as well.
- Next, navigate to the "cloud/rai_dashboard_pipeline.yml" file. Then update the placeholder for the compute name with your compute instance name that you copied earlier. E.g., "compute: azureml:compute-xxxxxxxxxxxx".
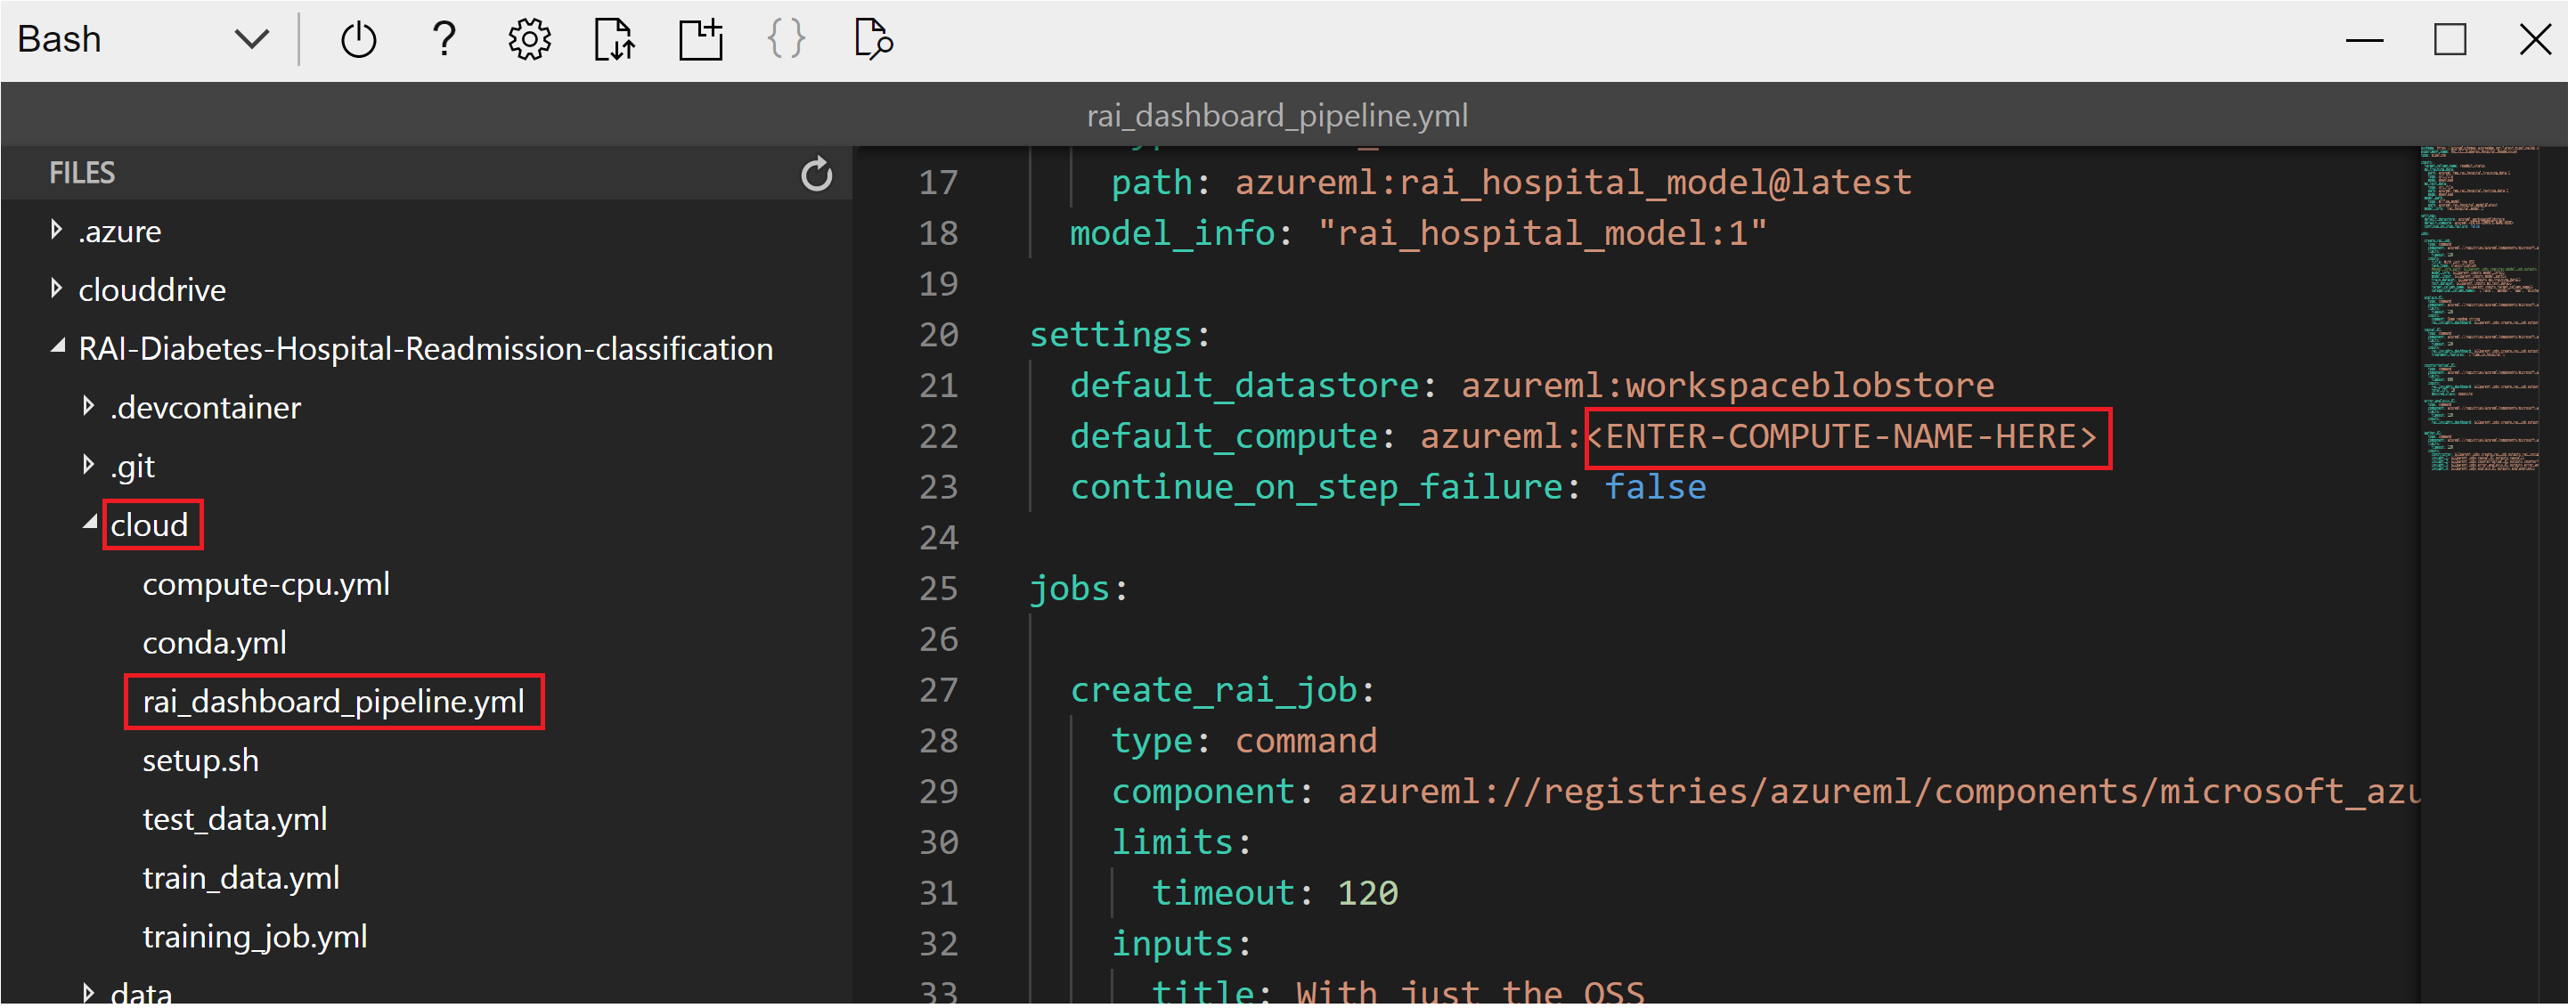
Right-click anywhere in the file, then select the "Save" option to save the file. You can also use Save short-cut keys as well.
Right-click anywhere in the file, then select the "Quit" option to close the editor window.
Back at the Cloud Shell command prompt, submit the job to train the model. Wait for the job to update its run status during the training.
run_id=$(az ml job create --name my_training_job -f cloud/training_job.yml --query name -o tsv)

# wait for job to finish while checking for status
if [[ -z "$run_id" ]]
then
  echo "Job creation failed"
  exit 3
fi
status=$(az ml job show -n $run_id --query status -o tsv)
if [[ -z "$status" ]]
then
  echo "Status query failed"
  exit 4
fi
running=("Queued" "Starting" "Preparing" "Running" "Finalizing")
while [[ ${running[*]} =~ $status ]]
do
  sleep 8
  status=$(az ml job show -n $run_id --query status -o tsv)
  echo $status
done
- After the training job has completed successfully, register the model to the Azure Machine Learning workspace.
az ml model create --name rai_hospital_model --path "azureml://jobs/$run_id/outputs/model_output" --type mlflow_model
- Submit the job pipeline to create the RAI dashboard.
az ml job create --file cloud/rai_dashboard_pipeline.yml
- Log into Azure Machine Learning studio to monitor the pipeline job for creating the RAI dashboard.
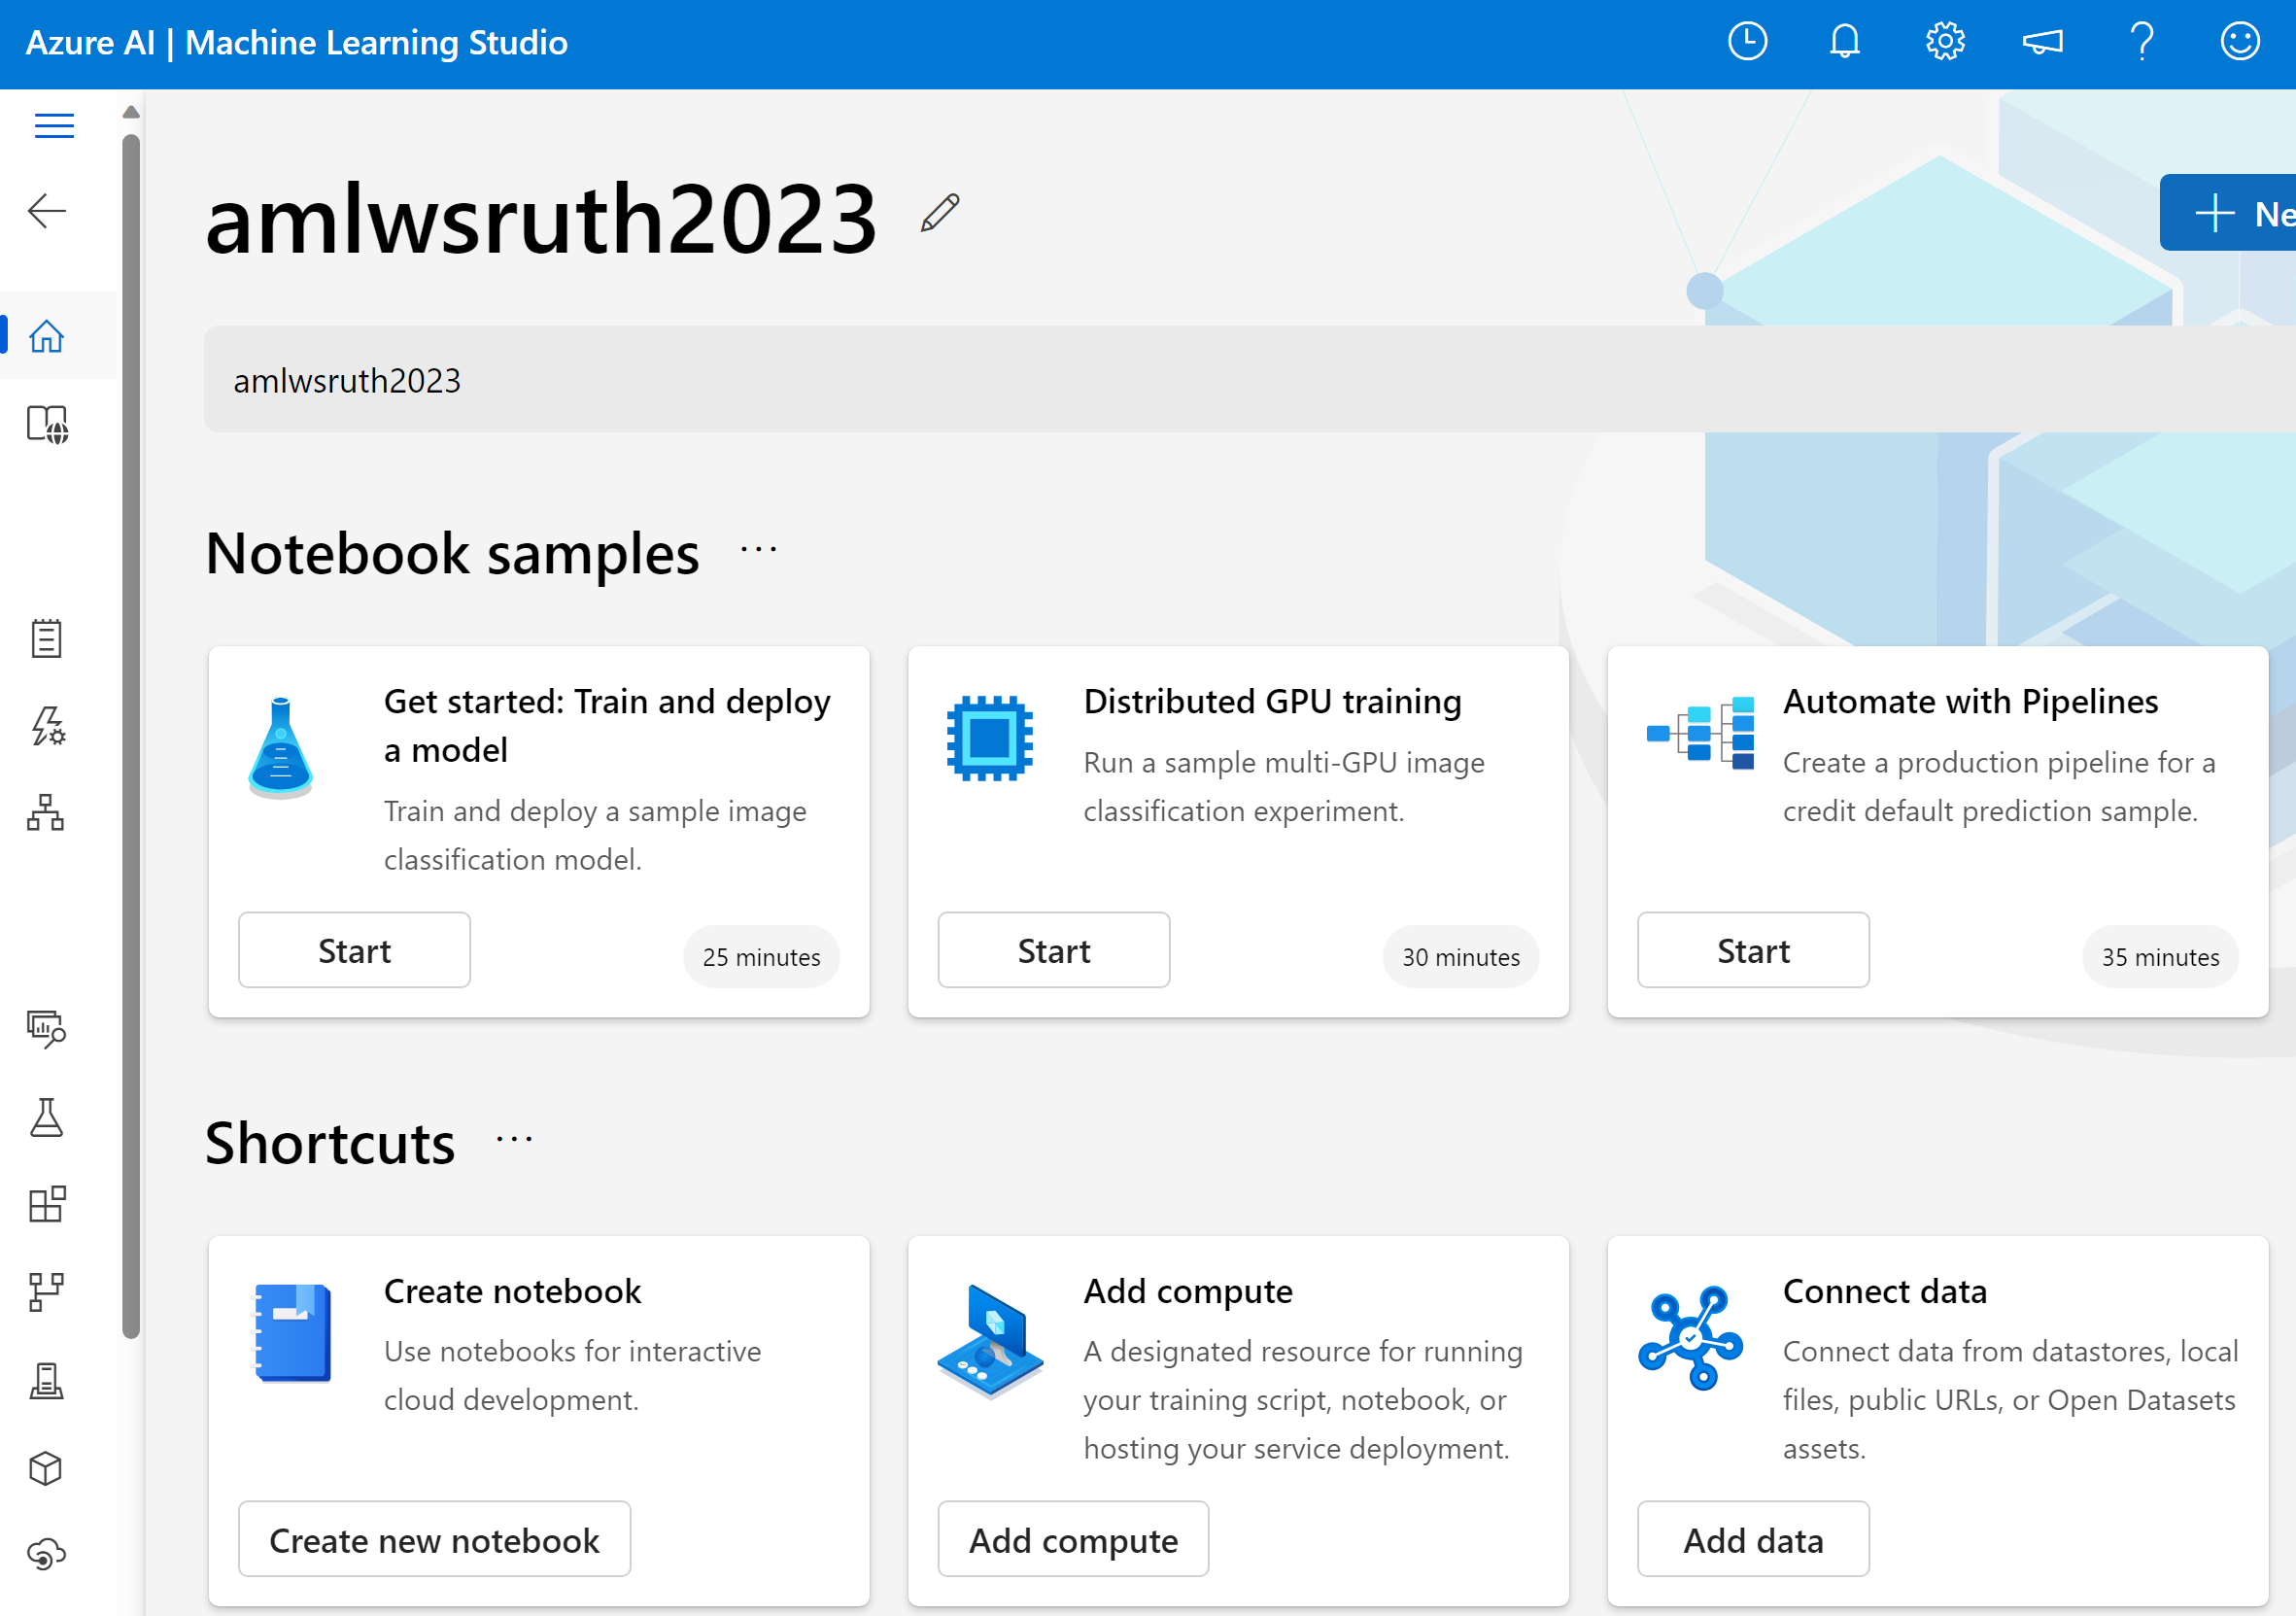
- Click on your Azure ML workspace name. Then, click on the Pipelines tab to get the job status.
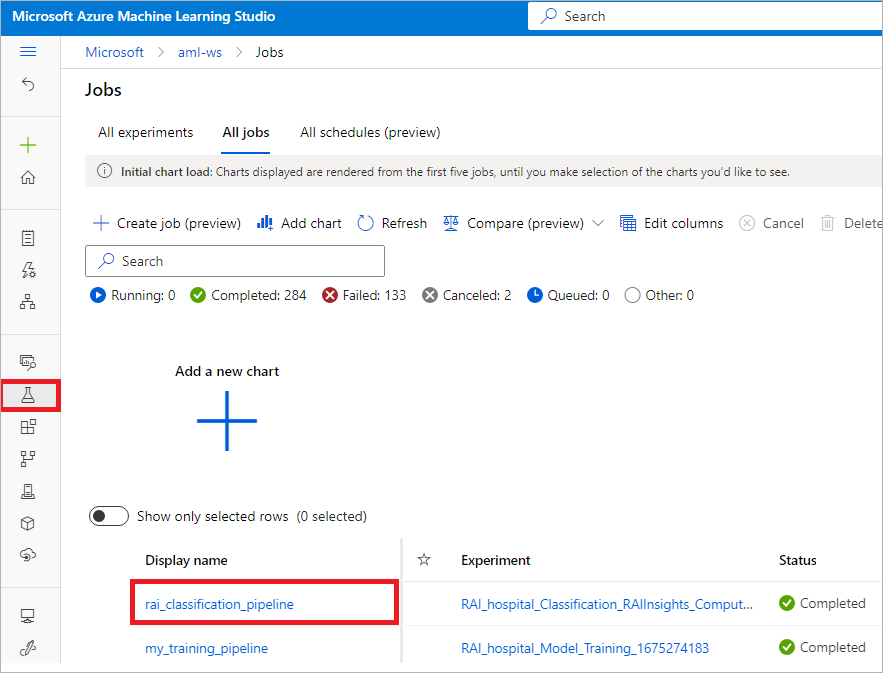
- To view the progression of the pipeline job creating the RAI dashboard, click on the job "Display name".
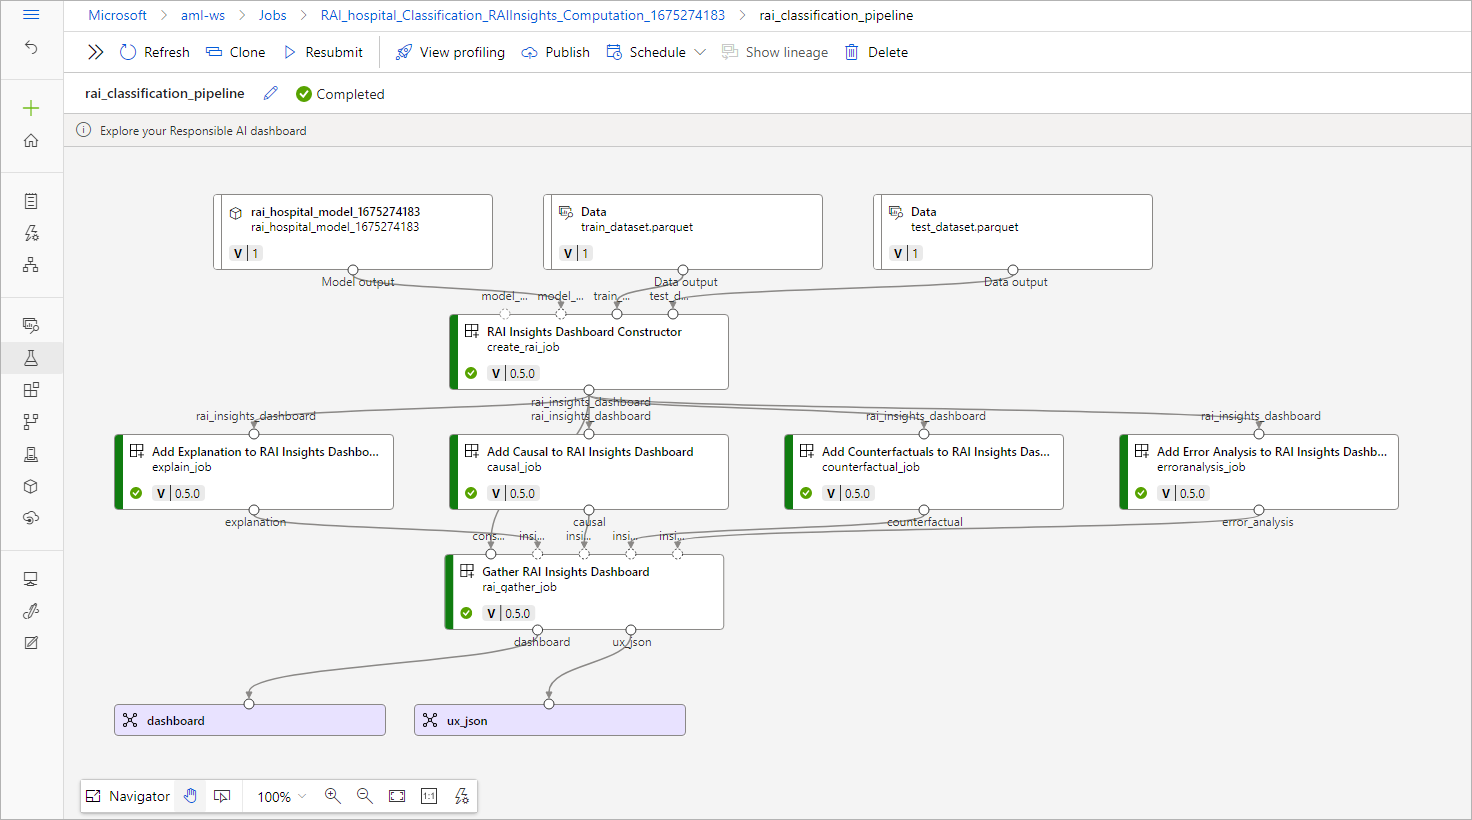
Click on the Models tab on the left-hand navigation. Then click on the name of the model to open the details page.
Lastly, click on the "Responsible AI" tab to view the RAI dashboard. Then, click on the "Name" to view the dashboard.
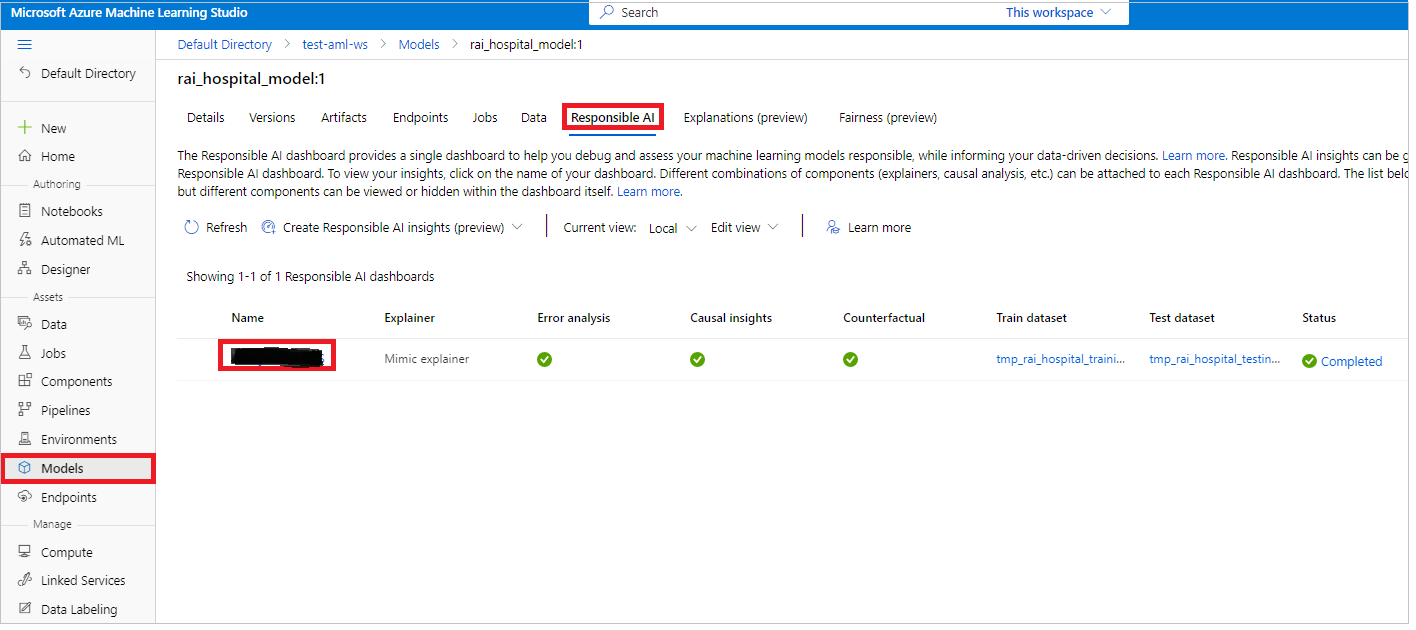
Terrific...you're ready to start using the dashboard!
Click on the "Next" button below to proceed to the Error Analysis lab.